

If you’re learning how to draw a realistic cat, whiskers are one of the things that trip people up. They look simple, but they’re surprisingly hard to get right.
Most drawings end up with whiskers that look stiff, kinked, or fat. It’s a common problem, and it can ruin an otherwise great drawing.
This article shows you how to fix the issue. All you need is a few simple tools, and some nifty drawing techniques to draw whiskers that look super real.
Disclaimer: When you buy something via my affiliate links I earn from qualifying purchases and sometimes earn a commission, at no extra cost to you. I am an Amazon Associate among others. I only recommend trusted sites.

Score the Paper First to Indent the Whiskers
This is the classic method, and it still works great. Before you shade any fur, you score the whisker lines into the paper with something sharp, like a toothpick or an indenting tool.
When you shade over the top, the graphite skips right over those scored lines. What’s left behind is a crisp, bright white whisker line.
It looks like magic. But there’s a catch.
You have to know exactly where every whisker goes before you start shading. No guessing. No changing your mind halfway through. It’s do or die.


What goes wrong? The indent is too broad, the line goes wonky, the ‘scratch’ doesn’t taper.
Get the placement wrong, and you have a hell of a time disguising the cock-up.. That’s why this method takes some planning and a good deal of practice.
Try out your technique on a spare bit of paper before committing yourself.
Still, once you get the hang of it, it’s one of the best ways to draw realistic, crisp cat whiskers.
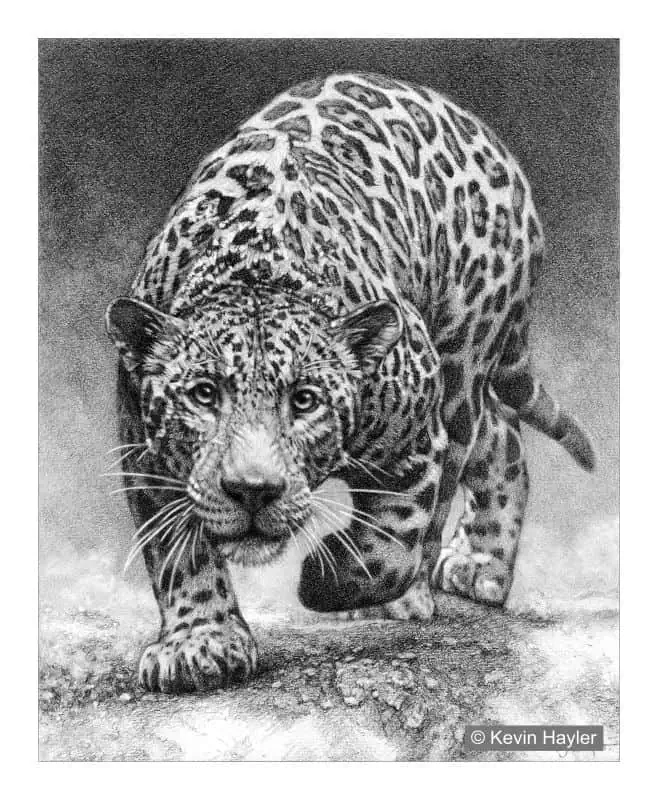
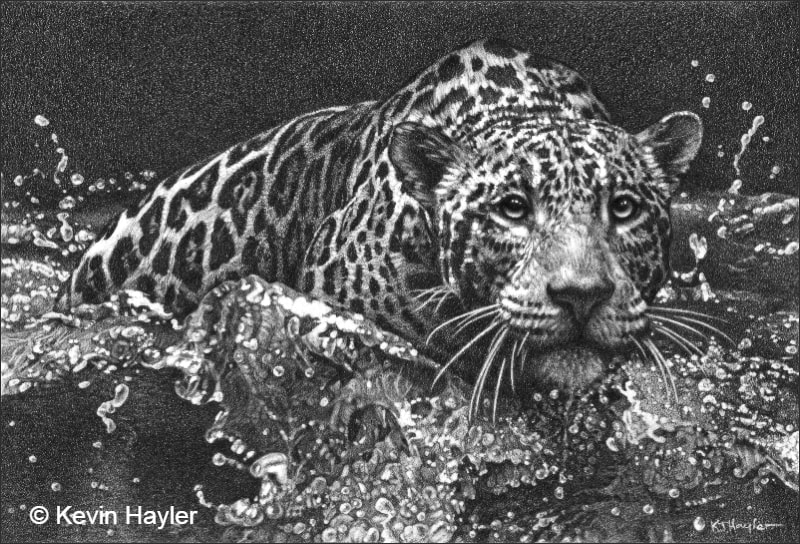
Need Some Drawing Inspo? 7 Hyper Realistic Drawings: Animals That Look Like Photos
Use an Eraser Pen to Draw Thin White Lines
This method flips the process around. Instead of planning ahead, you shade the fur first, then lift the whisker lines back out with a fine eraser pen, like a Tombo-Mono.
Sharpen the tip with a craft knife before you start. A sharp edge is what gives you a thin, clean line. A dull one just smudges the graphite instead of lifting it.
Hold the pen at a low angle and swipe it across the shaded fur in one smooth stroke, following the direction the whisker should curve. Don’t scrub back and forth. One clean pass should work.
The tip will lose its edge fast. Keep re-sharpening it as you go.

What can go wrong? Not much because you can easily rectify mistakes.
It’s more forgiving than scoring the paper. Mess up a line? Never mind, just shade back over it and try again. Nothing’s ruined.
I will caveat this method by pointing out that the effectiveness of this tool is dependant on the depth of graphite underneath. A very ‘black’ layer of graphite is harder to ‘lift’ cleanly. You may erase a very light grey line instead of a crisp white whisker.
That said, it usually works, and makes it a solid choice if indenting the paper is too risky.
Let’s move on the best method.
Draw the Cats Whiskers Using a Battery Eraser Pen
This is the best method, and the one worth learning if you’re serious about realistic cat drawings. A battery-powered eraser pen has a spinning rubber nib that lifts graphite cleanly off the page. It’s more precise than a regular eraser pen, and it can pull out lines as thin as a real whisker.
Start by sharpening the nib to a fine point. Spin it at an angle against some wet-and-dry paper until you’ve got a sharp tip, just like sharpening a pencil.

Amazon is hit and miss so try Jackson’s Art too.
The best part about this method is that you don’t need to plan the whiskers at all. Shade the fur normally, then add the whiskers right at the end by erasing them out on top. This works even if the graphite is deep black.
You can place them exactly where they look right.
The tip blunts fast, so keep re-sharpening it every few strokes. A sharp point is what gives you that crisp, bright white fine line.
If a whisker goes wrong, don’t panic. Just pencil back over the mistake and try again. Nothing’s permanent.
Need a bit More Info? Read this: How do you Get White Lines in a Pencil Drawing?
How to Draw The Cats Whiskers: Final Thoughts
That’s it , short and sweet. Three simple ways to draw whiskers that look real. Score the paper, swipe with an eraser pen, or go all-in with a battery eraser. Each one works, and it’s worth experimenting with all of them.
We are talking pennies here. All the art tools are cheap.
If you’re struggling with how to draw a realistic cat, whiskers are a small detail that make a big difference to the final outcome. Nail them, and the rest of the drawing suddenly feels accomplished.
Now if you are at an early stage and need more help, perhaps it’s time to consider a drawing course and learn visually. There is only so much you can learn from the written word. You need a demo.
This is a good drawing course by Brent Eviston. He’s a very good teacher, nothing highbrow, just plain speaking. Oh, and lots of free lessons so you check him out.

Here are some more posts that will interest you:
- How to Draw Realistic Shadows in Pencil (All The Best Secrets)
- How to Create Depth in Your Drawing and See it Improve
- Are Online Drawing Courses Worth it? I Chose 5 of The Best For You!
- Is Drawing from Photos Bad? Are you Cheating?
- Best Mechanical Drawing Pencils For Artists
- How to Make Your Drawings Interesting: 14 Hacks to Add More OOMPH
- How to Draw Water: Drawing Water the Right Way
- How to Prevent Your Drawing From Smudging.
PIN THIS


Hi, I’m Kevin Hayler
I’ve been selling my wildlife art and traveling the world for over 20 years, and if that sounds too good to be true, I’ve done it all without social media, art school, or galleries!
I can show you how to do it. You’ll find a wealth of info on my site, about selling art, drawing tips, lifestyle, reviews, travel, my portfolio, and more. Enjoy