Kevin Hayler: Professional Wildlife artist, author, and traveler.
How do you make flat, lifeless, pencil shading look like a three-dimensional shadow? In this post, I will teach you how to draw realistic shadows in pencil the correct way.
When drawing shadows on a flat plane, the depth is created by making the inner shadow area slightly lighter than the outer boundary. The border of a shadow varies in softness according to the distance and position of the light source. The shadow side of an object is altered by reflected light rebounding from another source.
It sounds easy but how do you apply this knowledge? That’s what we’ll discuss here.
Disclaimer: When you buy something via my affiliate links I earn from qualifying purchases and sometimes earn a commission, at no extra cost to you. I am an Amazon Associate among others. I only recommend trusted sites.
What Pencils Do You Need to Draw Realistic Shadows?
In most instances, it makes more sense to draw realistic shadows using softer pencil grades. It’s not easy to recommend a specific grade because every company grades its own pencils differently. It all depends on your choice of brands.
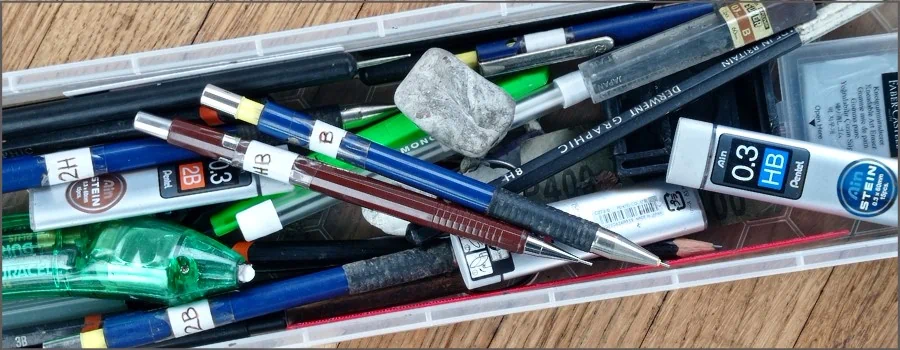
Personally, I like to start drawing by using an HB Derwent Graphic pencil to draw shadows. I find that an ‘HB’ in Derwent pencil is quite soft. I get satisfying dark tones on cartridge paper.
I also like to use Pentel Mechanical Pencils I prefer to use a ‘B’ grade. It has a smooth rich feel and pleasing tone.
Both pencils are great for the preliminary stages of the drawing. I use them to map out my composition and indicate darker values. I’ll refine the dark areas as I progress.
Drawing with mechanical pencils has been a game-changer, read this: Can You Draw With Mechanical Pencils?
As I start building the dark values, I will decide which pencils to use as I go along. If the tones aren’t dark enough I might use a softer pencil grade. I rarely go darker than ‘3B’ to avoid the graphite shine you get with softer pencils.
If graphite shine annoys you read this: 9 Ways to Stop Pencil Shine in a Drawing and Save Your Work!
Learn to shade with Brent Eviston on YouTube
This is a popular drawing course by on Udemy.
He has over 73,000 students!

Shading Techniques for Drawing Shadows
Apply Pencil Tone in Layers For Greater Realism
It’s far more effective to draw shadows in a series of lighter layers than it is with one dark tone straight away. You will almost certainly get the values wrong in the early stages of your drawing, and darkening a shadow is far easier than making a shadow lighter.
Draw from Dark to Light
I build shadows in progressive layers. It’s slower and more controlled. I will use the same pencil grade with a light touch until I’ve maxed out the tonal value. when I need to go darker value, I will choose the next soft pencil grade and repeat the process.
What I don’t do, and advise you not to do, is press harder with the pencil to get darker shadows. Why? Because the pressure will damage the paper surface and will be difficult to repair if you make a mistake.
There are times when this is useful, but in general, it’s bad practice.
If you need help choosing paper, this post will help: What’s the Right Paper for Pencil Drawing?
Realistic Shading Techniques in Pencil
When I make a rough preliminary sketch, I tend to hatch with a neat diagonal line, in one direction The aim is to indicate where the darkest values will be. The refining comes later, indeed I may well decide to erase the initial hatching altogether. It’s only a guide to establishing the contrast.
I build layers by cross-hatching, slowly and precisely, in opposite directions. First, I will shade by hatching parallel diagonals from the bottom left to the top right. I shade the whole area before I reverse the hatching, and shade the other way.

If I’m working at an easel I will rest my hand on a mahl stick (wooden rod), if I’m working on a flat surface I will spin the paper around to make life easier. Again I fill in the entire shape before reversing my direction. I repeat the process until the tones look about right.
I like to draw on textured paper and I’m careful to shade lightly in order to keep the grain visible. I’d rather spend the time adding more layers than lose the grainy effect by applying more pressure.
I go into more detail here: How to Draw Texture in Pencil
In order to maintain even shade work, it’s important to use the pencil with a chamfered (sloping) edge. The idea is to glide the pencil over the paper surface. If you lose the sloping edge, twist the pencil to regain it, or swipe it over a very fine emery paper, and carry on where you left off.

Minor dark marks, where two shading patches meet, can be removed with a piece of Blu Tack. Knead the putty into a very thin fine point and brush over the mark extremely lightly. Only the surface ‘lead’ will be removed and the ‘join’ will vanish into a smooth transition.
Random shading where you criss-cross the hatching at every angle is fine if that’s the effect you want. I use it for sketchy backgrounds mostly. I don’t use it when I want realism.
Irregular strokes quickly look messy. If you ‘scribble’ instead of hatch (parallel lines), drawing an even tone is impossible.
Choosing the Correct Pencil Width For Shading
Pentel mechanical pencils have a range of sizes, 0.2mm, 0.3mm, 0.5mm, 0.7mm, and 0.9mm. Intuition suggests you would be wise to choose the biggest 0.9mm gauge, but that’s not always true. Wider nibs make grainier lines.
If you, like me, want to draw on paper with a fine tooth, shading with 0.9mm will produce a coarse line. A slimmer ‘lead’ makes a more delicate mark. I prefer to shade with a 0.3mm pencil.
Admittedly, it’s slow progress, but the beautiful grain it leaves behind adds a sparkle to the shading that I can’t get it any other way.
The issue is not as clear-cut with a standard drawing pencil. The lead will broaden as, with use, it becomes blunter. It’s up to you and your level of skill to judge when it’s appropriate to resharpen the pencil point.
This post explains how to use different pencil grades: What Do Pencil Numbers Mean?
Don’t use a solid graphite stump as a shortcut, not to draw realistic shadows, they’re far too coarse and clumsy.
How to Hold a Drawing Pencil Properly For Shading
Holding a pencil with a light touch is much easier if you hold the pencil at a very shallow angle beneath your palm. The idea is to maintain a consistent angle without using much pressure for as long as possible.

Top Tip: Try moving your arm back and forth from your elbow in a sweeping motion. It’s easier to draw longer and more accurate hatching lines.
If you want movement, draw from the arm, if you want precision, draw from the wrist.
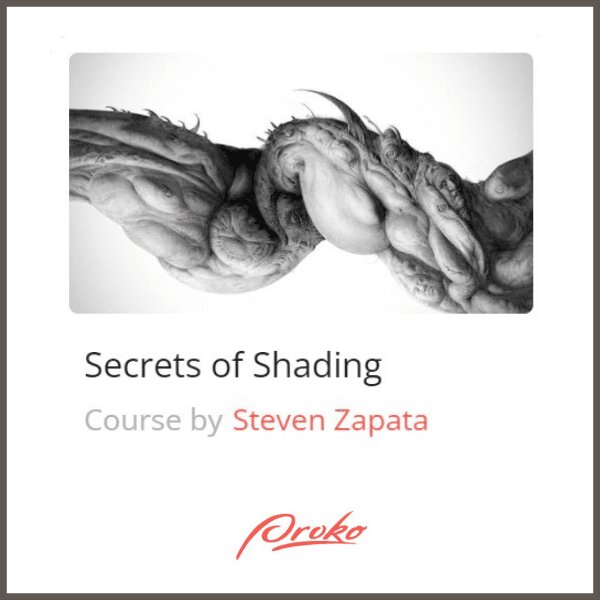
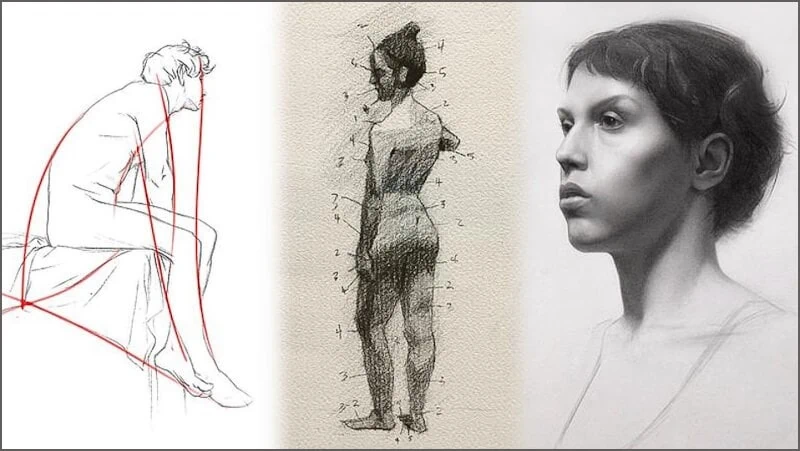
If you need some video tuition check out Steven Zapata on Proko
How to Draw Shadow Edges Realistically
The edge of the shadow cast will differ according to the strength and direction of the light, the distance the shadow is cast from the object, and the angle it is viewed.
A shadow’s edge is always diffused to a greater or lesser extent. Very sharp edges tend to look wrong.

I don’t want contour lines so I taper the shading at the edges of the shadows. I might do that by using the side of the pencil lead to make the edge less distinct and grainier or I might erase the edge with a kneadable eraser.
Softer edges can be shaded out using a progressively lighter touch. If you don’t want to retain the paper grain, or you draw on a smooth paper surface, you can soften the edges with a cotton bud or blender.
How to Draw Realistic Depth in the Shadow
Over the years I’ve come to realize that shadows, cast over a flat surface, look more authentic if the core shadows are lighter than the outer rim.
If, for example, I’m drawing some dappled shade, I will always add a slightly darker diffused border to simulate a natural shadow, and that’s regardless of whether I can detect it in real life or not.
This sister post teaches you: How to Create Depth in Your Drawing
The darkest part of the shadow is the point where two objects meet and there’s little or no reflected light. For example, the area where a foot meets the ground will have the darkest shadow and that will taper into the surrounding cast shadow.
Without the dark (occidental) shadow a solid object will appear to float above its base.
Calculating Where The Shadow Lies
A low light source, like a setting sun, casts a long shadow. A high light source, like the midday sun, shortens the shadow. It’s easy to understand but it’s not so easy to implement.
Most tutorials will show you a diagram showing radials from a single light source hitting the contours of an object. The shadow ends where the trajectory of the straight line touches a surface. Fine in theory and of little use in real life.

The examples usually show a lightbulb, as I’ve drawn above, shining down onto a simple shape, invariably a ball or a cube. Where the light rays touch the flat plane, will indicate where to place the shadow in a perfectly controlled studio setting.
How can you gauge where the flat plane lies? You have to determine the angle of perspective, the horizon line, and a vanishing point. Not that the plane is likely to be perfectly flat, because it will undulate.
Now apply those rules to a landscape, in all its complexity, and add some people, trees, buildings, and animals to the scene. Each will have a shadow and they will overlap. It’s not so easy.
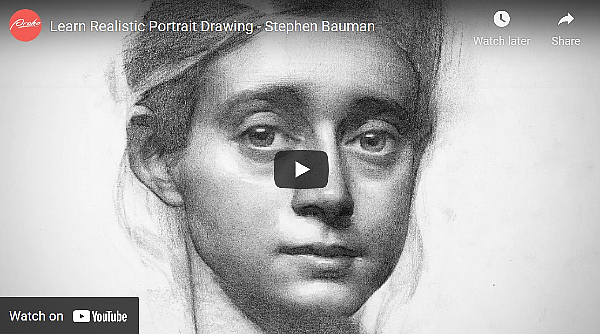
Stephen Bauman is a classically trained artist and has a very academic approach to his art. This guy knows his stuff and he’s a very good tutor
When do you really need to add shadows? If you are drawing a scene from life, or a reference, you have all the information there in front of you.
You only need to calculate the shape of a shadow if you are creatively manipulating the composition.
Maybe you’re adding a figure to a scene or merging two reference photos together. How do you tackle that? If the two photos have different light sources you have a problem.
My first reaction is to try and source a photo that looks very similar to my reference. I scour the internet, Instagram, and google images. It’s a long process but eventually, I will find an image that helps me to make an informed guess.
If you are adding a human figure buy an artist’s model figure and shine a light on it. That couldn’t be easier. If you’re adding animals, you can find some plastic toys and use those.

There are times when it’s virtually impossible to place the shadow correctly without using a mock-up. The shape of the object is too complex.
I have a book by Robert Bateman, one of the world’s great wildlife painters, and there’s a photo of him using a clay model of an egret to help him place it in his painting with the right form and shadows.
Sometimes you have to go the extra mile.
Using Reflected Light And Contrast in Your Shadows
In real life, light is bouncing around all over the place. Just because there is a single source of light doesn’t mean there’s an even shadow. Light reflects from different surfaces at different angles.

Think of a photographer using white reflectors to bounce light onto a subject to illuminate the shot. They are using reflected light creatively but the same principle applies to everything we draw.
Reflected light adds depth, contrast, and interest, to an otherwise dull object. When I draw a simple shape, I’ll draw a lighter value on the dark side of the object. It looks more authentic if you draw a slightly darker gradient near the border.
Reflected light adds to the illusion of form, and high contrast adds drama to your composition. I will add lighter values in dark shadows whenever, and wherever it improves the drawing.
Drawing Realistic Shadows: Final Thoughts
To coin a cliche, practice makes perfect. The more you sit down and draw the easier it becomes. You’ll start to recognize recurring problems and eventually the solutions will become more apparent.
Drawing realistic shadows is mainly a technique. You can estimate where a shadow is most likely to fall and as long as the perspective looks right no one will challenge its authenticity.
Don’t waste too much time on theory.
Draw what you see, put more emphasis on contrast and soften the edges of your shadows. It’s very easy.
Keep to the basic guidelines I’ve given you, don’t overcomplicate the process, and you’ll learn to draw realistic shadows in no time.
If you like the way I draw and want to try things for yourself, this is my basic kit
Now it’s time to come out of the shadows and show your art to the world. I’ll show you how to sell your art for a living. Check this out!
There are more articles like this one. Check them out.
- How to Draw White Lines in a Pencil Drawing (Without Going Mad)
- Is Drawing from Photos Bad? Are you Cheating?
- 32 Drawing Mistakes and Bad Habits Artists Must Avoid
- Tracing Art – Is It Good or Bad? When Is Tracing Cheating and Is It Ever OK?
- 9 Ways to Stop Pencil Shine in a Drawing and Save Your Work!
- How to Draw Water in Pencil: Drawing Water The Right Way
- Drawing Realistic Grass the Easy Way: For Beginners
- How to Scale Up a Drawing in 4 Easy Ways and Save Time
- How to Plan and Compose Your Art (A Guide for Beginners With Examples)
Plus find an ONLINE COURSE that suits you.
If you need more help with drawing, then I urge you to check out
Dorian Iten on Proko. His course is reasonably priced and inspiring
PIN IT AND SAVE IT


Hi, I’m Kevin Hayler
I’ve been selling my wildlife art and traveling the world for over 20 years, and if that sounds too good to be true, I’ve done it all without social media, art school, or galleries!
I can show you how to do it. You’ll find a wealth of info on my site, about selling art, drawing tips, lifestyle, reviews, travel, my portfolio, and more. Enjoy


